In today’s fast-paced digital world, the need for quick, secure, and hassle-free payments is more important than ever. UPI (Unified Payments Interface) has emerged as the go-to solution for making instant payments. But if you’re new to UPI, you may be wondering how to set up a UPI ID securely. This guide will take you through the process of creating your UPI ID step by step, linking your bank account, and ensuring that your transactions are safe and secure.
What is UPI and Why You Need It
UPI, short for Unified Payments Interface, is a real-time payment system developed by the National Payments Corporation of India (NPCI). UPI enables you to transfer money instantly between any two bank accounts, 24/7, all from your smartphone. It allows you to send and receive money, pay bills, and make online transactions—all through a simple mobile app.
Benefits of UPI for Secure Payments
-
Instant Payments: Transactions are processed in real-time, so your money moves instantly.
-
24/7 Availability: UPI payments are available round-the-clock, unlike traditional banking hours.
-
Secure: UPI transactions are encrypted, making them safer than traditional methods.
-
Easy Setup: Setting up UPI is simple and doesn’t require much effort.
Now that you know what UPI is and why it’s beneficial, let’s dive into the process of setting up your UPI ID securely.
Step-by-Step Guide on How to Set Up UPI ID
1. Choose Your Preferred UPI App
There are several UPI-enabled apps available for both Android and iOS. Some of the most popular ones include:
-
Google Pay
-
PhonePe
-
Paytm
-
Amazon Pay
-
BHIM UPI
When selecting an app, ensure that it is compatible with your bank and offers a smooth user experience. For instance, if you already use Google Pay for other services, it might make sense to use it for UPI as well.
2. Install the UPI App
Once you’ve chosen the app that best suits your needs, the next step is to install it on your smartphone. Go to the Google Play Store or Apple App Store, search for the app by name, and hit “Install.”
3. Register for UPI Payments on Mobile
After installing the app, open it and proceed to the registration screen. Here’s what you’ll need to do:
-
Verify your phone number: The app will ask you to verify your mobile number via SMS. Ensure that the number you use is linked to your bank account.
-
Set up a PIN: You’ll be prompted to create a UPI PIN (typically a 4 or 6-digit code) to secure your transactions.
4. Link Bank Account to UPI
Next, you need to link your bank account to the UPI app to facilitate transactions. Here’s how you can do this securely:
-
Select your bank: After registration, the app will show a list of supported banks. Choose the one where you hold an account.
-
Confirm details: You’ll be asked to verify your bank account details, including your account number and IFSC code.
-
Authenticate with the bank: The app will authenticate your details by sending an OTP (One-Time Password) to your registered mobile number. Once verified, your bank account will be linked to the UPI app.
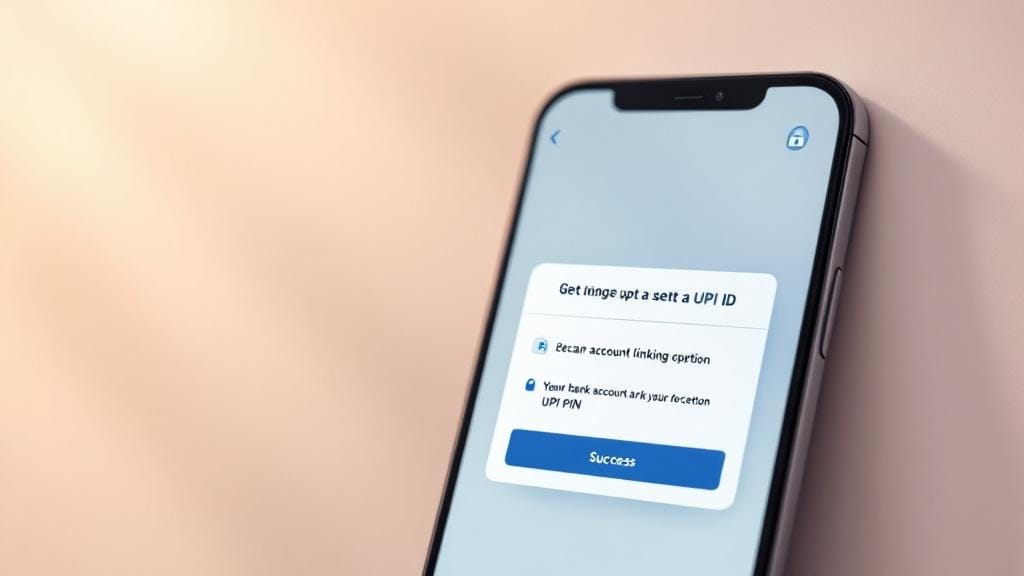
5. Create Your UPI ID
Now comes the most important step—creating your UPI ID. This ID will act as your virtual address for transactions. It’s typically in the format username@bankname (e.g., john@upi).
Here’s how to create a UPI ID:
-
Choose your ID: Select a unique ID that is easy to remember. You can create a custom ID or use a suggested one.
-
Enter details: If the app asks for a username, you can choose your name, initials, or anything that identifies you.
After this, your UPI ID is ready, and you can start using it to send and receive payments.
6. Verify UPI ID Creation
Some UPI apps may require you to verify your UPI ID. This is usually done by sending an OTP to your registered mobile number. Once confirmed, you’ll receive a notification that your UPI ID has been created successfully.
How to Ensure Secure UPI Transactions
While UPI is known for being secure, you can take additional steps to make sure your transactions remain safe.
1. Use a Strong UPI PIN
Your UPI PIN is the key to securing your transactions. It’s essential to use a strong PIN that’s difficult to guess. Avoid using easily predictable numbers like “1234” or your birthdate.
2. Enable Two-Factor Authentication
Many UPI apps offer two-factor authentication for extra security. Always enable this feature to add an additional layer of protection for your UPI account.
3. Monitor Transactions Regularly
Keep an eye on your transaction history and ensure that all payments made are authorized by you. If you notice anything suspicious, immediately contact your bank or UPI app’s customer support.
4. Use Trusted UPI Apps
Always download UPI apps from official sources like the Google Play Store or Apple App Store. Avoid using third-party apps, as they may not be secure.
5. Update Your App Regularly
Ensure that your UPI app is always up-to-date to benefit from the latest security patches and features.
Frequently Asked Questions (FAQs)
1. How to Create a UPI ID Step by Step?
To create a UPI ID, you need to:
-
Download a UPI-enabled app like Google Pay or PhonePe.
-
Register using your phone number and set a UPI PIN.
-
Link your bank account to the app.
-
Choose a unique UPI ID (like yourname@upi).
-
Verify your ID with an OTP, and you’re all set!
2. What is the Safest Way to Set Up UPI ID?
The safest way to set up your UPI ID is by using a trusted UPI app, ensuring your phone number is linked to your bank account, and creating a strong UPI PIN. Always use two-factor authentication and monitor your transactions regularly.
3. How to Link Bank Account to UPI App Securely?
To link your bank account securely:
-
Choose a trusted UPI app like Google Pay or PhonePe.
-
Verify your mobile number and bank details.
-
Ensure that the app uses encryption for your information.
-
Only enter OTPs sent to your registered mobile number.
4. How to Register for UPI Payments on Mobile?
To register for UPI on mobile, install a UPI app, verify your mobile number, set a UPI PIN, and link your bank account to the app. Once linked, you can create your UPI ID and start making secure payments.
5. Best UPI Apps to Set Up UPI ID?
Some of the best UPI apps are:
-
Google Pay: Known for its user-friendly interface.
-
PhonePe: Offers a variety of payment options.
-
Paytm: Widely used for both UPI payments and wallet services.
-
Amazon Pay: Great for seamless transactions with Amazon users.
6. How to Set UPI ID on Google Pay or PhonePe?
To set up your UPI ID on Google Pay or PhonePe:
-
Install the app and register with your mobile number.
-
Link your bank account.
-
Choose a unique UPI ID and create a secure UPI PIN.
-
You’ll be ready to make transactions.
7. How to Ensure Secure UPI Transactions?
To ensure secure UPI transactions, use a strong UPI PIN, enable two-factor authentication, regularly monitor your transactions, and only use official, trusted apps.


Comments (0)