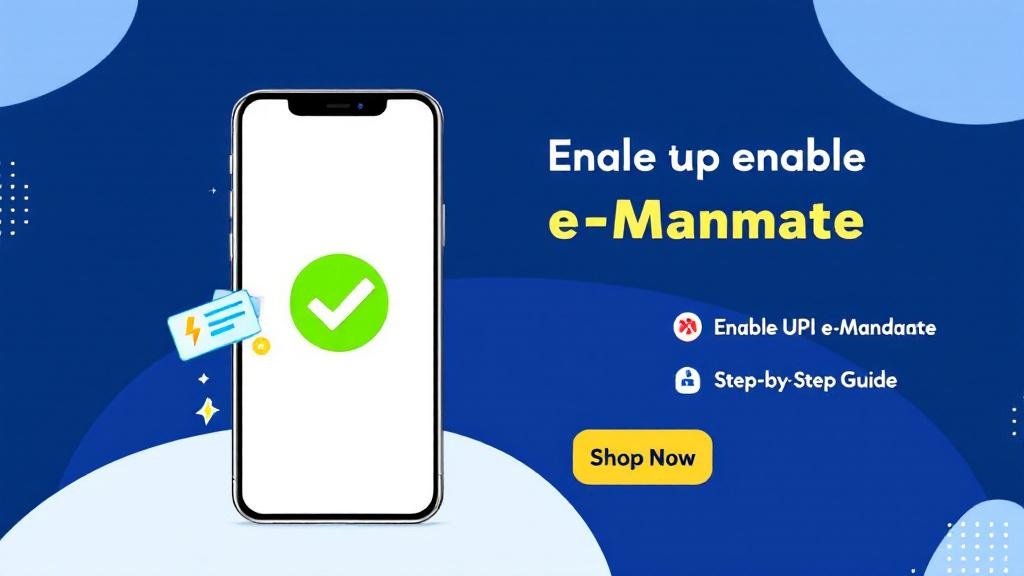
The way we make payments is rapidly evolving, and UPI (Unified Payments Interface) is at the heart of this transformation. One of the most convenient and efficient features of UPI is the e-mandate. The UPI e-mandate allows you to automate recurring payments without any manual intervention. Whether it’s for your monthly subscriptions, utility bill payments, or loan repayments, setting up a UPI e-mandate can save you time and effort.
In this comprehensive guide, we’ll walk you through the process of enabling UPI e-mandate, explain its benefits, and show you how to set up auto-debit features seamlessly through the bank app. By the end of this article, you’ll have a clear understanding of how to activate UPI e-mandate online and why it’s a game-changer for recurring payments.
What is UPI E-Mandate?
UPI e-mandate is a feature that allows you to authorize automatic, recurring payments via UPI. Once enabled, it facilitates UPI auto-debit enablement for various services such as subscription-based services, insurance premiums, utility bill payments, and even loan EMIs.
Through NPCI’s UPI e-mandate service, users can set up recurring payments without needing to approve each transaction manually. This system ensures that payments are made on time, which is especially useful for managing monthly or annual bills.
Why Should You Enable UPI E-Mandate?
There are multiple reasons why you might want to activate UPI e-mandate online:
1. Time-Saving and Convenience
No more remembering to make payments manually! Once you set up a UPI mandate, the payments are processed automatically at the scheduled time.
2. Prevents Late Payments
With UPI mandate setup, you can be sure that your payments are always made on time, avoiding late fees and penalties.
3. Easy Management
Managing multiple recurring payments becomes easier. You can track and manage your UPI recurring payment setup directly through your bank app.
4. Security and Trust
UPI mandates are authorized by the bank and follow the eNACH (Electronic National Automated Clearing House) framework, ensuring high levels of security for your transactions.
How to Enable UPI E-Mandate: A Step-by-Step Guide
Step 1: Log into Your Bank’s UPI App
To begin the process of registering UPI e-mandate step-by-step, you need to open your bank’s official UPI app (e.g., Google Pay, PhonePe, or your bank’s own UPI app).
-
Open the app and log in with your credentials (PIN, fingerprint, or other verification methods).
-
Make sure your bank account is already linked with your UPI ID.
Step 2: Navigate to ‘UPI Mandates’ Section
Once logged in, you’ll need to locate the UPI mandate section. This may be under the “Payments” or “Banking” tab depending on your app’s interface. In some cases, it might be listed under “Settings” or “Auto-Debit” options.
Step 3: Select ‘Create a New Mandate’
Now, click on the option to create a new mandate. You’ll be prompted to select the type of recurring payment you want to automate (e.g., monthly subscription, bill payment, or EMI).
-
You may also need to choose the mandate type, such as UPI-based subscription payment or UPI standing instruction.
-
Enter the payment amount and frequency (daily, weekly, monthly, etc.).
Step 4: Enter Beneficiary Details
Next, enter the details of the service provider or the beneficiary. This includes the merchant’s UPI ID or their payment gateway details.
-
If it’s a recurring payment for a service like Netflix, Spotify, or insurance, the service provider’s UPI ID will be required.
-
Verify the details before proceeding.
Step 5: Authorize the Mandate
After entering all the details, you’ll be asked to authorize the digital auto-debit authorization using your UPI PIN.
-
This authorization step is critical for security and ensures that only you can enable the bank mandate through UPI.
Step 6: Confirmation and Activation
Once the mandate is authorized, the UPI e-mandate enable on bank app will be activated. You’ll receive a confirmation message from your bank or payment provider.
Now, your payments will be automatically debited as per the schedule you set up!
Managing and Editing UPI E-Mandates
Once you’ve successfully set up your UPI e-mandate, you might need to manage or update it. This could include changing the payment amount, frequency, or even canceling the mandate altogether.
To Edit a UPI E-Mandate:
-
Open the bank app and go to the “Mandates” section.
-
Select the specific mandate you wish to edit.
-
Make the necessary changes (e.g., change the amount, date, or frequency).
-
Re-authorize the mandate with your UPI PIN.
To Cancel a UPI E-Mandate:
-
In the “Mandates” section, select the mandate you wish to cancel.
-
Choose the option to disable the auto-debit using UPI.
-
Confirm the cancellation with your UPI PIN.
FAQs on UPI E-Mandates
1. What is UPI e-mandate?
A UPI e-mandate allows you to automate recurring payments using UPI, making it easier to pay for services like subscriptions, utilities, and loans without manual intervention.
2. How do I enable UPI e-mandate?
You can enable UPI e-mandate by logging into your bank’s UPI app, selecting the “Mandate” section, and following the steps to create a new mandate, including selecting a payment schedule, entering beneficiary details, and authorizing with your UPI PIN.
3. Can I set up UPI auto-debit for my bills?
Yes, UPI mandates are ideal for setting up UPI recurring payment setup for bills like electricity, water, and mobile phone payments. Once set up, payments will be automatically debited from your account.
4. Is UPI e-mandate safe?
Yes, UPI e-mandate enablement follows the eNACH framework, ensuring secure authorization for all transactions. The process is highly encrypted, and each transaction requires a UPI PIN for authorization.
5. What types of payments can be automated through UPI e-mandate?
You can automate payments for various services such as UPI-based subscription payments, loan EMIs, utility bills, insurance premiums, and even digital subscriptions.
6. How do I cancel a UPI e-mandate?
To cancel a UPI e-mandate, navigate to the “Mandates” section in your bank’s UPI app, select the mandate you wish to cancel, and disable the auto-debit option by re-authorizing with your UPI PIN.
7. Can I use UPI e-mandate for international payments?
Currently, UPI mandates are mainly available for domestic transactions within India. For international payments, different payment methods or services like cross-border payments via UPI might be applicable.
Conclusion: Revolutionizing Payments with UPI E-Mandates
The convenience of automating recurring payments through UPI e-mandate cannot be overstated. By following this simple guide, you can enable auto-debit using UPI for all your monthly bills, subscriptions, and other recurring expenses. Not only will this save you time, but it will also ensure that you never miss a payment again.
Whether you’re new to UPI payment automation or looking to make the most of UPI mandate for recurring payments, this feature offers a reliable and secure way to handle your financial transactions. So, go ahead, set up your electronic mandate setup today, and enjoy the seamless flow of automated payments via UPI!
This post was designed to provide value to readers interested in UPI mandate services while ensuring compliance with the Helpful Content Update by maintaining an engaging, informative tone throughout.


Comments (0)